A Guide to Activating Dtravel Powered Listings with Hostaway
In this guide, you'll how to get started with Hostaway - Dtravel's first PMS, how to set up a MetaMask wallet and how to deploy your listings on Dtravel.

Dtravel v2 is now live! To list your properties on Dtravel, you’ll need a Hostaway account — which is a property management system (PMS) — as well as a MetaMask wallet.
In this guide, we’ll walk you through how to get started with Hostaway, how to set up a MetaMask wallet and how to deploy your listings on Dtravel. But first, some background on how Dtravel interacts with PMS software.
What is a PMS
A PMS is software that assists short-term rental operators and vacation rental property managers in managing their listings, bookings, payments and/or communication with guests. By having the ability to organize operations across several properties and platforms in a single place, short-term rental operators can access convenient tools to efficiently take care of administrative tasks, saving both time and operational expenses.
Why Dtravel is Using PMS Integrations
Dtravel v2 fuses the best of direct booking sites and online travel agencies. A key component of this strategy is integrating a PMS to enable seamless cross-platform functionality and management.
Short-term rental operator’s listings connected to a supported PMS will allow operators to manage not only their Dtravel bookings, but also their bookings across other platforms. With the combined approach of Dtravel v2, short-term rental operators using a supported PMS can efficiently register with Dtravel and experience the benefits of a direct booking site without the time, effort and expenses traditionally associated with creating a direct booking site.
Hostaway, Dtravel’s First PMS Partner
As one of the most-used PMS software providers on the market today, we partnered with Hostaway for several reasons. The simplicity of use of the software, paired with its extensive functionality capabilities — including calendar synchronization, dynamic pricing, unified inbox, message automation and much more — optimizes the administrative process when it comes to managing a short-term rental business.
Hostaway is also integrated with over 100 apps that help short-term rental operators and property managers operate their businesses efficiently and effectively. This wide selection of tools is perfect for helping operators scale their businesses via automation, which complements Dtravel’s automated on-chain payments.
How to Get Started with Hostaway
If you’re not yet registered with Hostaway, request a demo here, after which you’ll be able to sign up. Be sure to mention Dtravel to receive priority treatment.
Once your Hostaway account is open, your Dtravel journey can begin. This guide will walk you through the steps of how to connect your Hostaway account to Dtravel.
How to Connect Your Hostaway Account to Dtravel
1. Log in to your Hostaway dashboard and navigate to the Marketplace.

2. Add the Dtravel booking channel to your Hostaway account here.

3. Click the green “connect” button in the bottom right-hand corner.

4. Create a public API Secret key for Dtravel and leave this page open.


5. Open a new tab to access the Dtravel Direct dashboard.

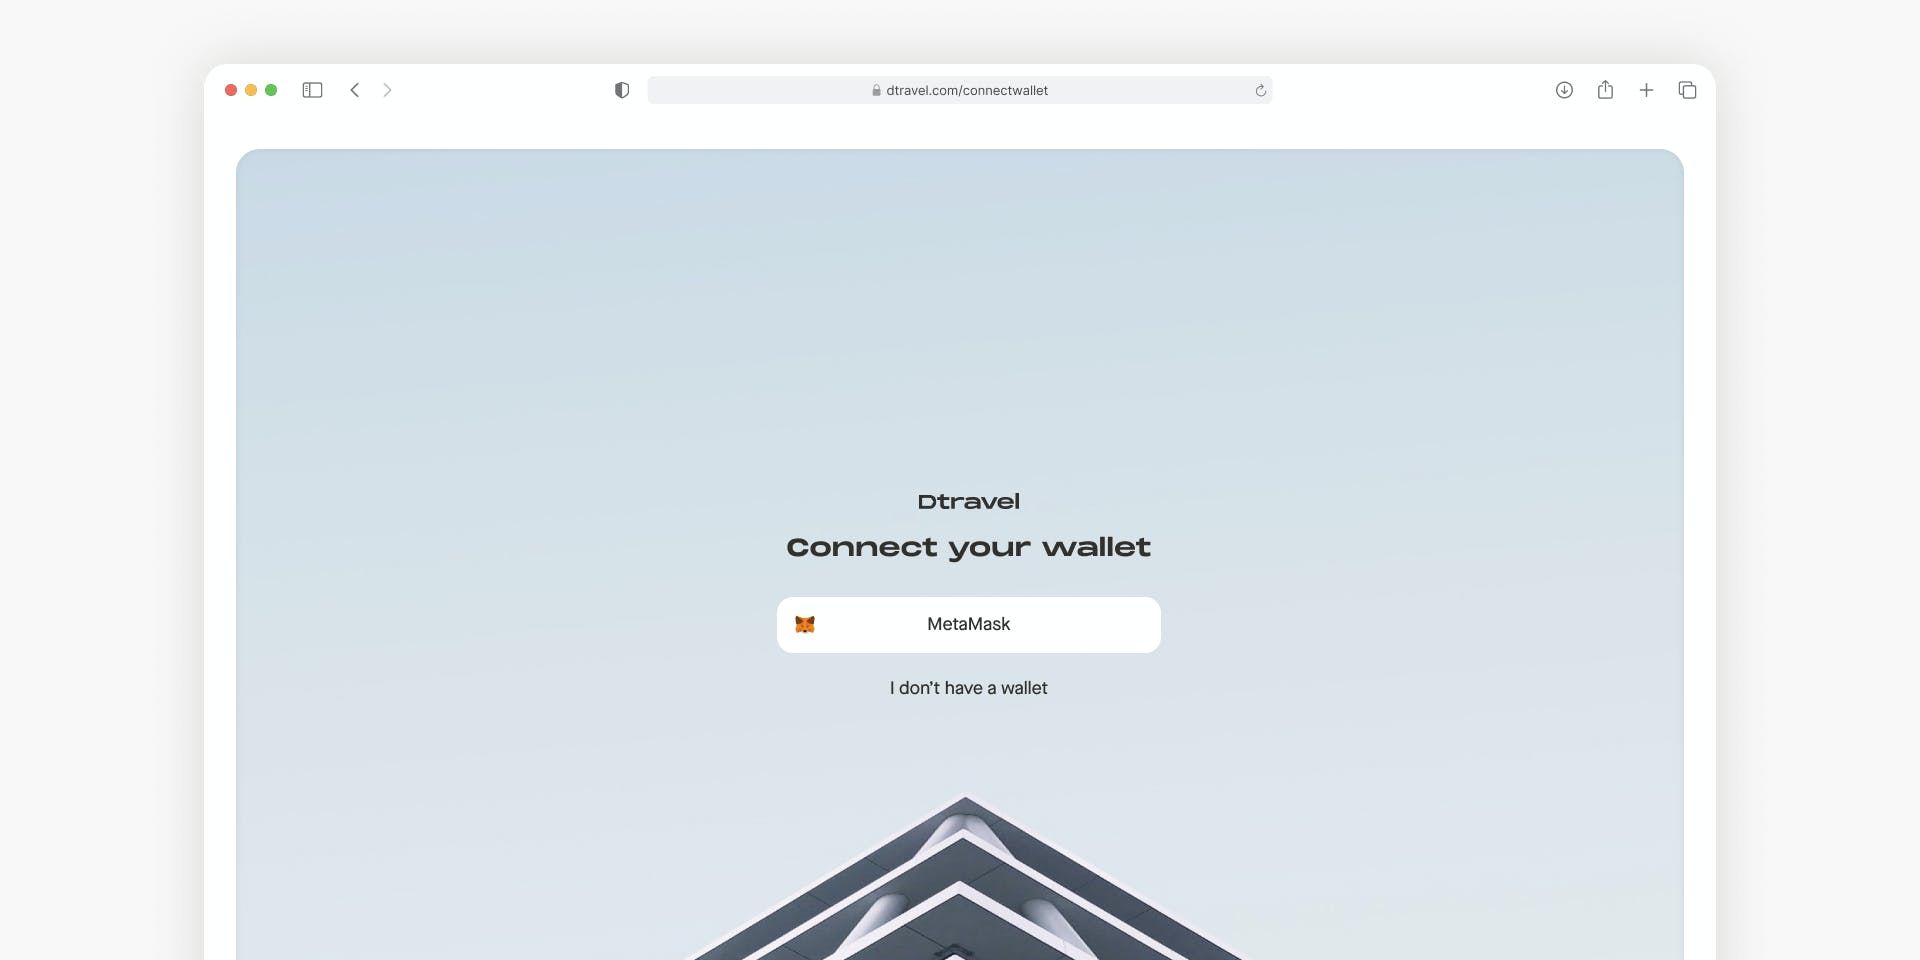
6. Connect your MetaMask wallet to access the Dtravel Dashboard. Don't have MetaMask wallet? Learn how to create one.

7. In the Dtravel Direct dashboard, switch networks to the BNB Smart Chain.


8. Connect to Hostaway and enter your account ID and API Key from Step 4.


That’s it! Your Hostaway account is now connected to Dtravel. Next, add your properties to Dtravel by following the steps below.
How to Deploy Listings on Dtravel
Now that your Hostaway account is connected to Dtravel, you can deploy listings to start accepting bookings via Dtravel.
9. Click “Listings” in the left sidebar of your Dtravel Direct dashboard.

10. Deploy the property listings you would like activated on Dtravel by clicking “Deploy”.

11. You’re now ready to accept direct bookings! Simply share your listing(s) with guests to accept bookings in cryptocurrencies or fiat.
Note: If you would like to offer fiat payment options then you will need to connect your Stripe account in the Dtravel Dashboard Integrations panel.
For help with any of these steps, please reach out to us on Discord or our other community channels below.

