A Guide to Activating Dtravel Powered Listings with Uplisting
A guide to activating Dtravel powered listings with Uplisting, our second PMS integration. Mange your short-term rental business and Dtravel powered listings with Uplisting.
We are excited to announce that we've completed our integration with Uplisting. You can read more about the partnership here.
In this guide, we’ll walk you through how to get started with Uplisting and how you can activate your Dtravel powered listings.
How to Get Started with Uplisting
Our mission is to make it easier to use Dtravel while ensuring as little disruption to your business as possible. With Uplisting, you can manage short-term rentals and bookings across multiple channels (including Dtravel), message guests, take payment, and so much more.
Uplisting offers users a 2-week free trial, fast-and-easy signup, as well as a 6-month 50% discount for all Dtravel Direct powered direct booking sites with four or less properties.
If you haven’t signed up for an account yet, use this link to get the discount.
How to Connect Your Uplisting Account to Dtravel
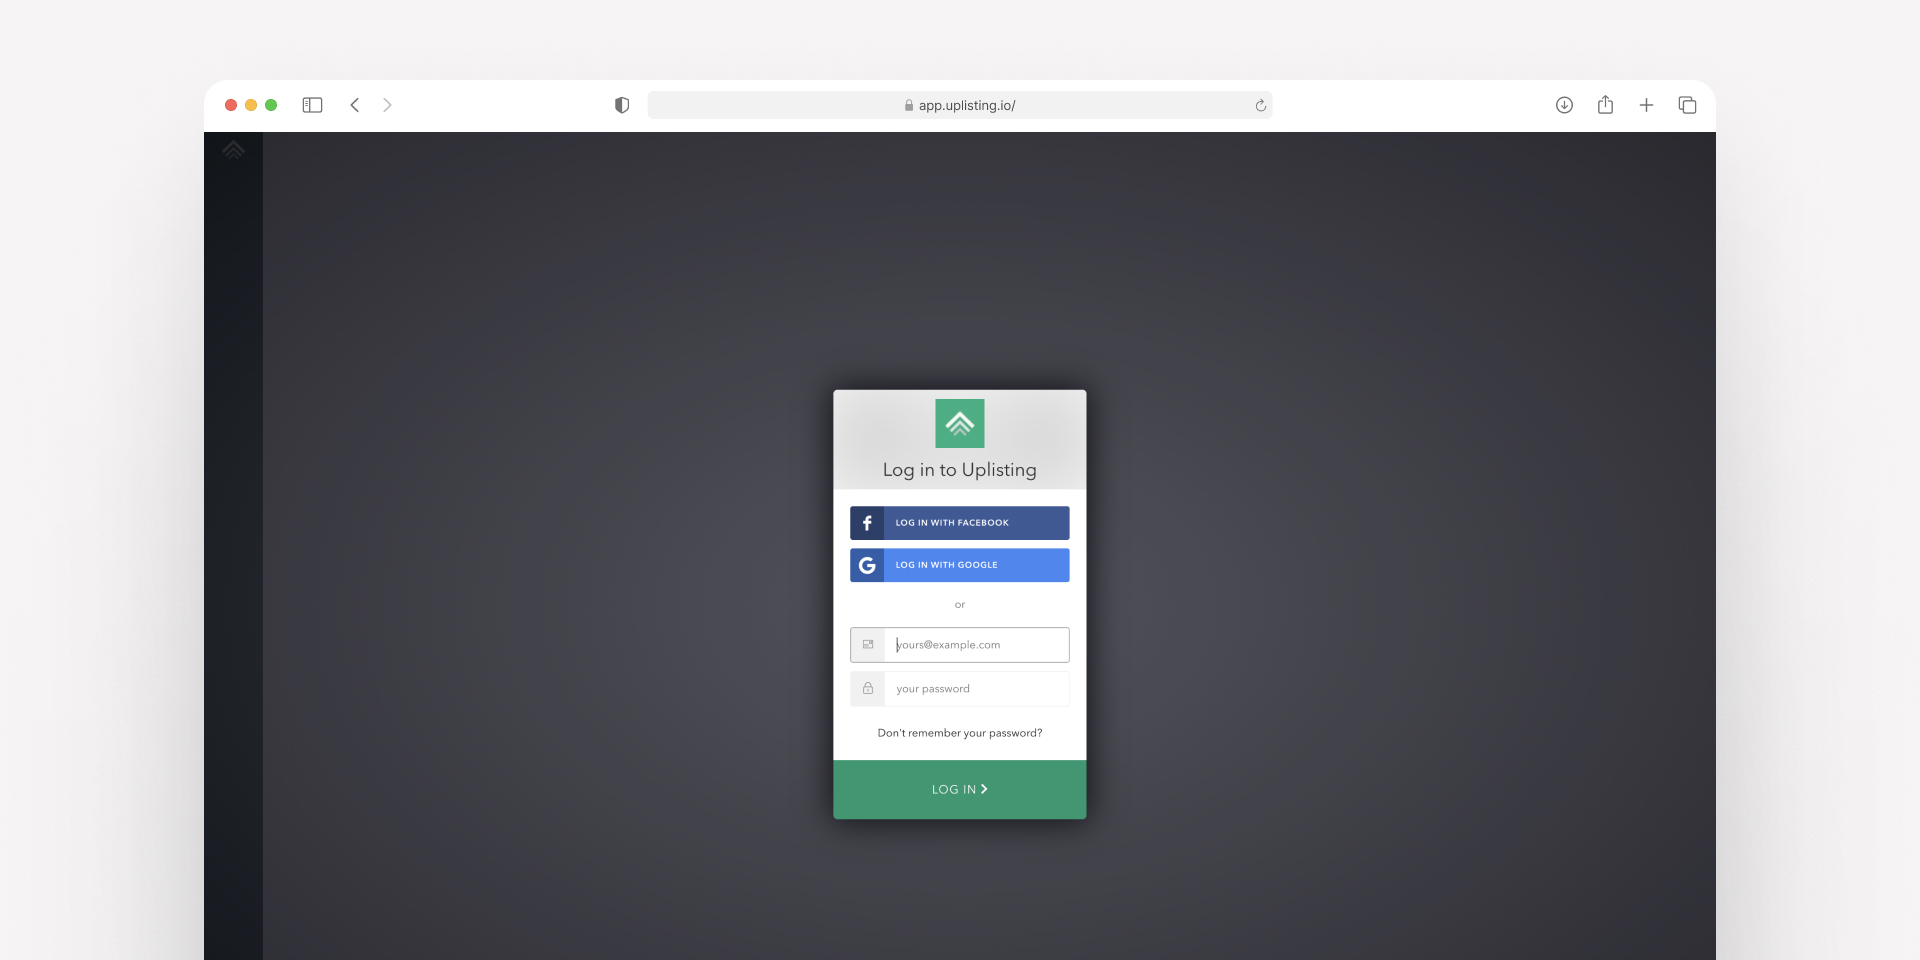
1. Sign up or log in to your Uplisting dashboard and navigate to the “Connect” tab.
Note: - Import your listings to Uplisting from all booking-channels before connecting to Dtravel. Please refer to Uplisting’s Knowledge Base before connecting.
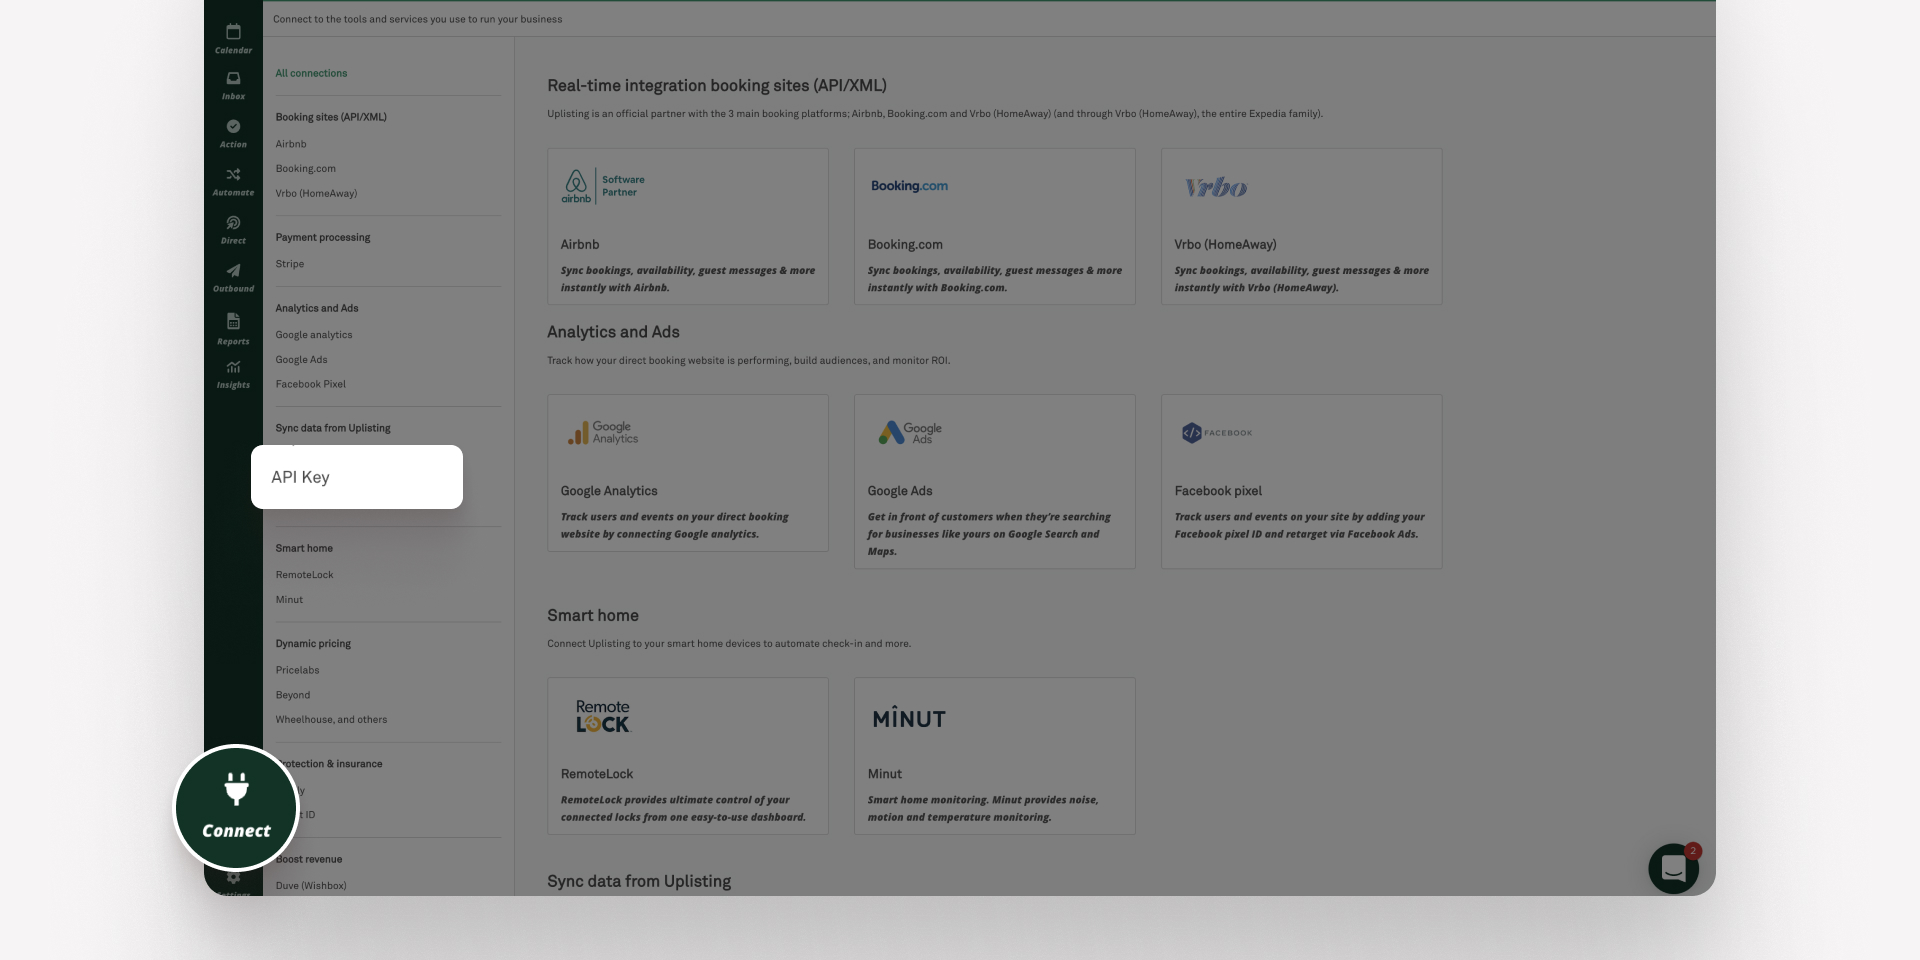
2. Once you’ve clicked on the “Connect” tab. You’ll see an option for “API Key” under the Sync data from Uplisting section.
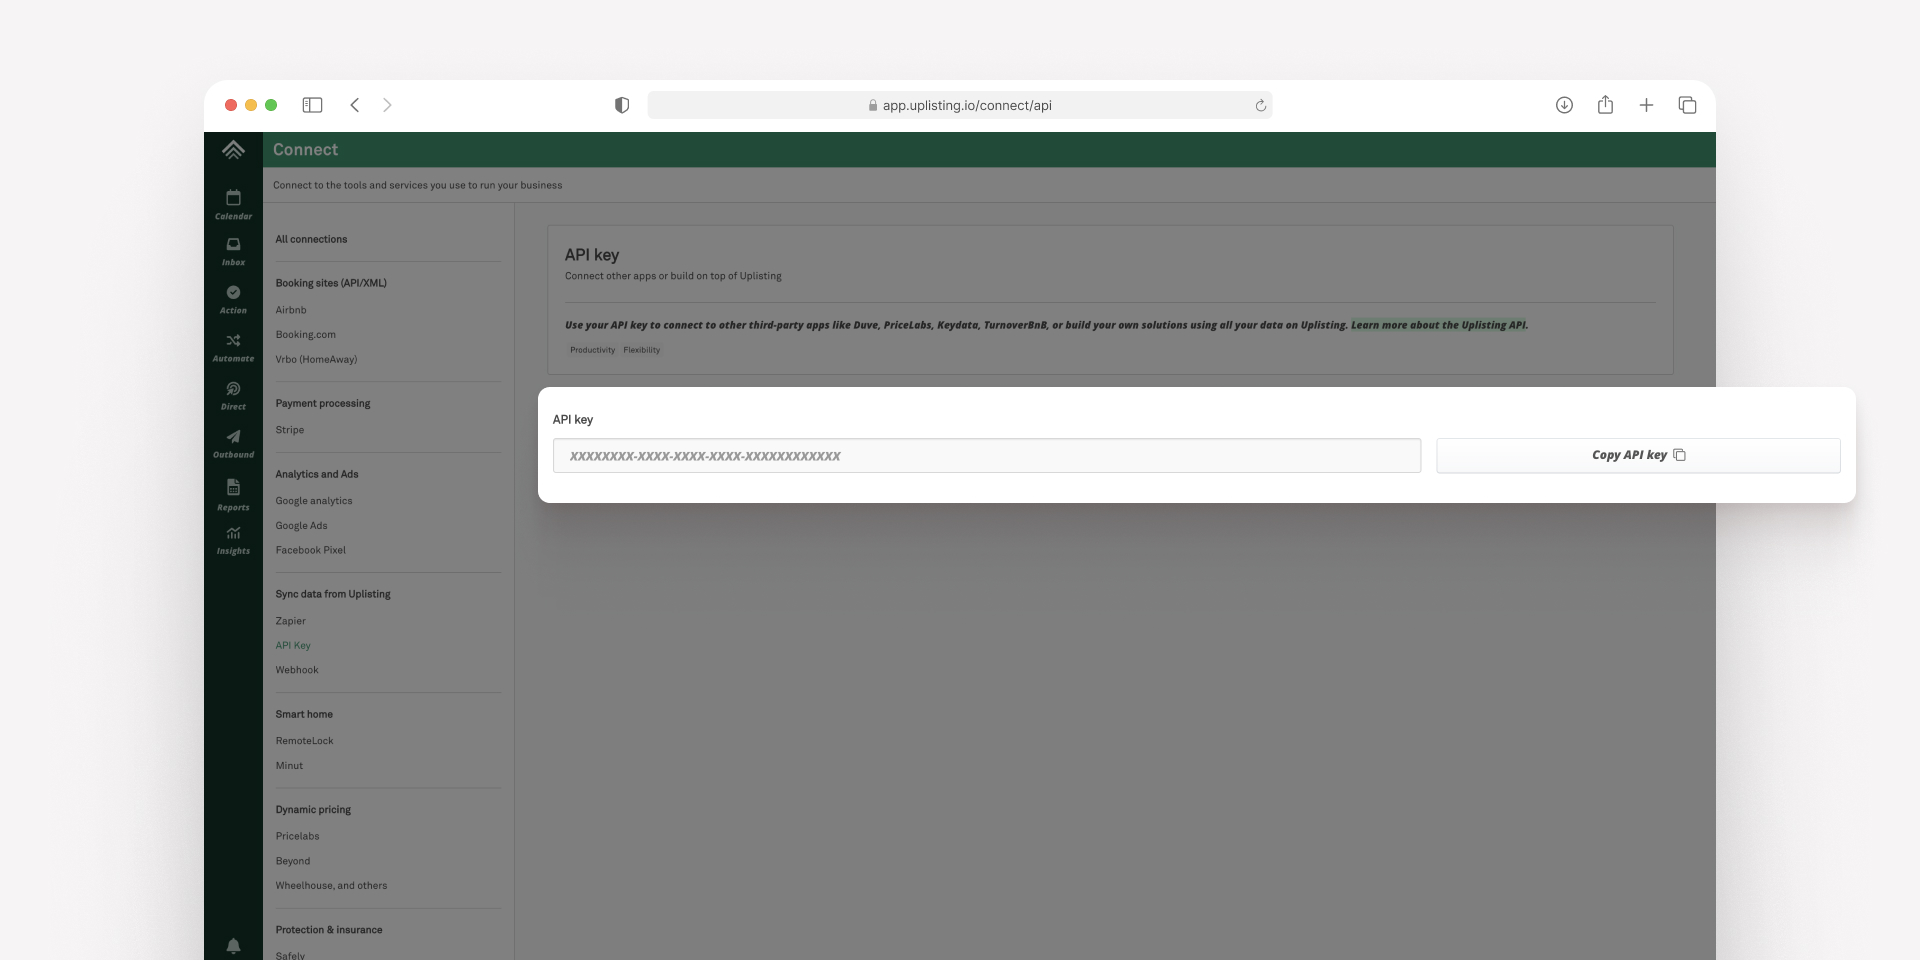
3. If this is your first time generating an API key, you’ll have the option to do so. Generate a new API key and then copy the key.
5. Open a new tab to access the Dtravel Direct dashboard.
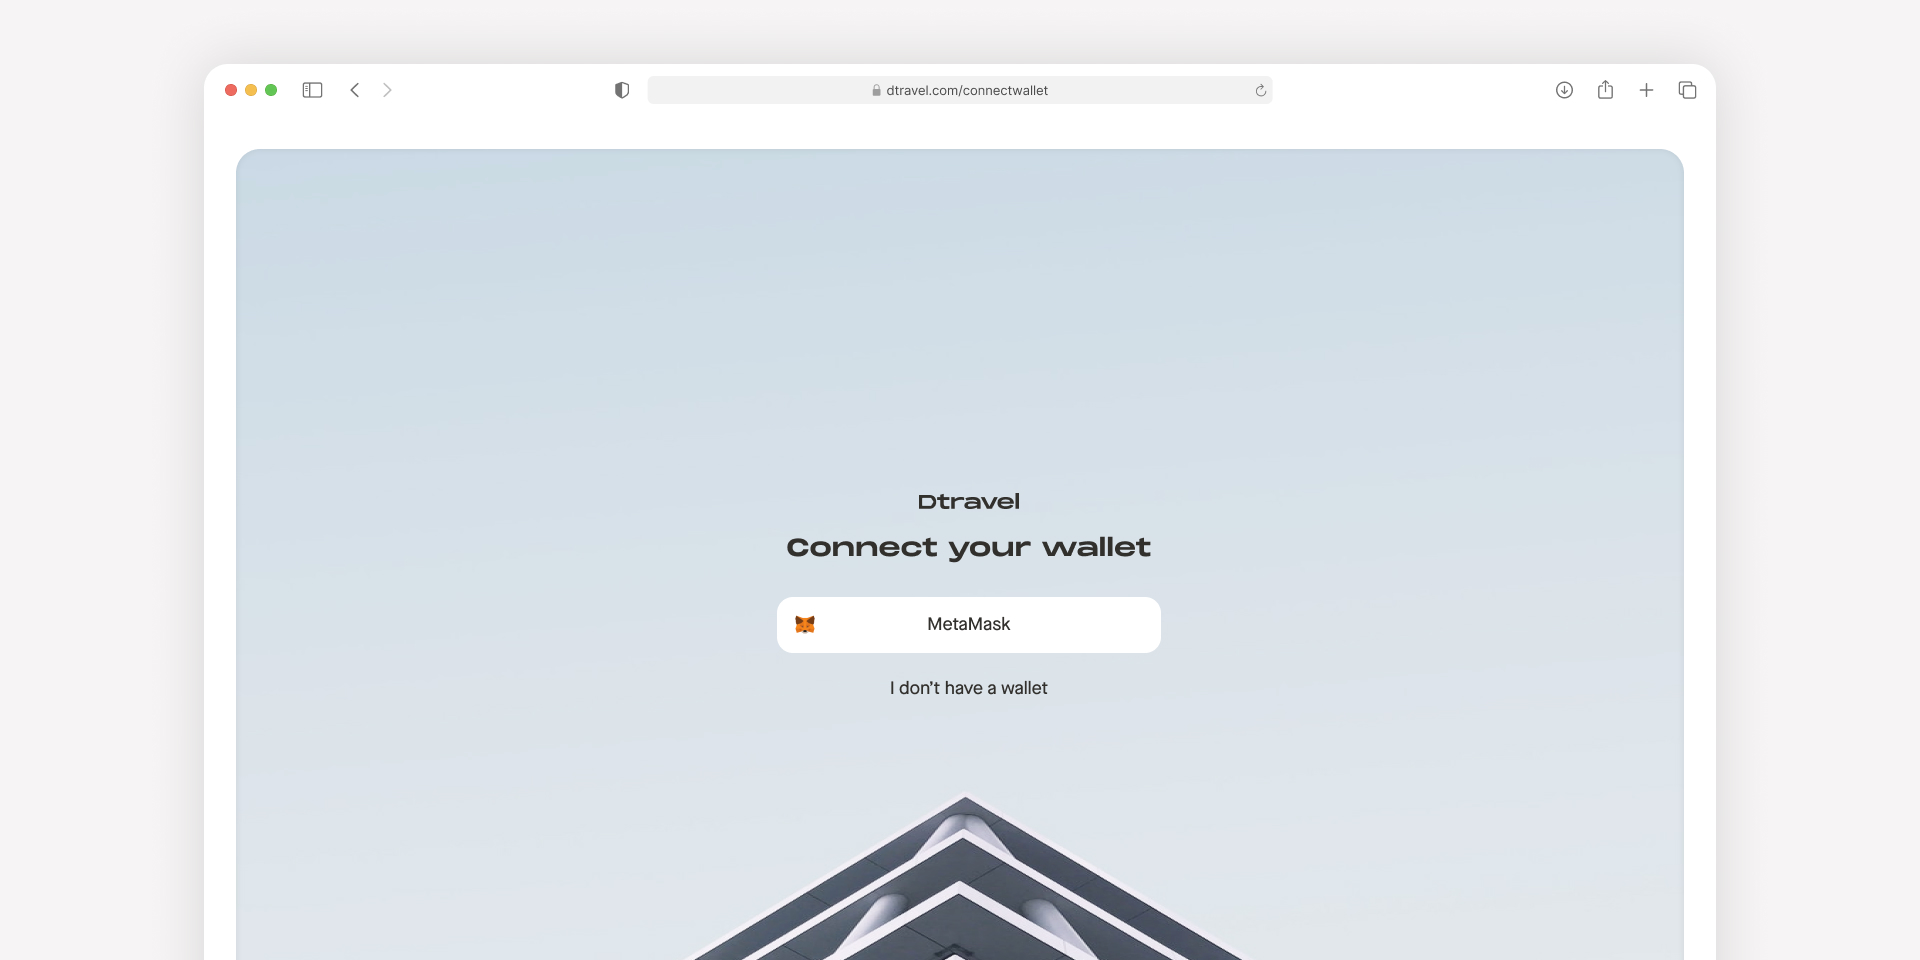
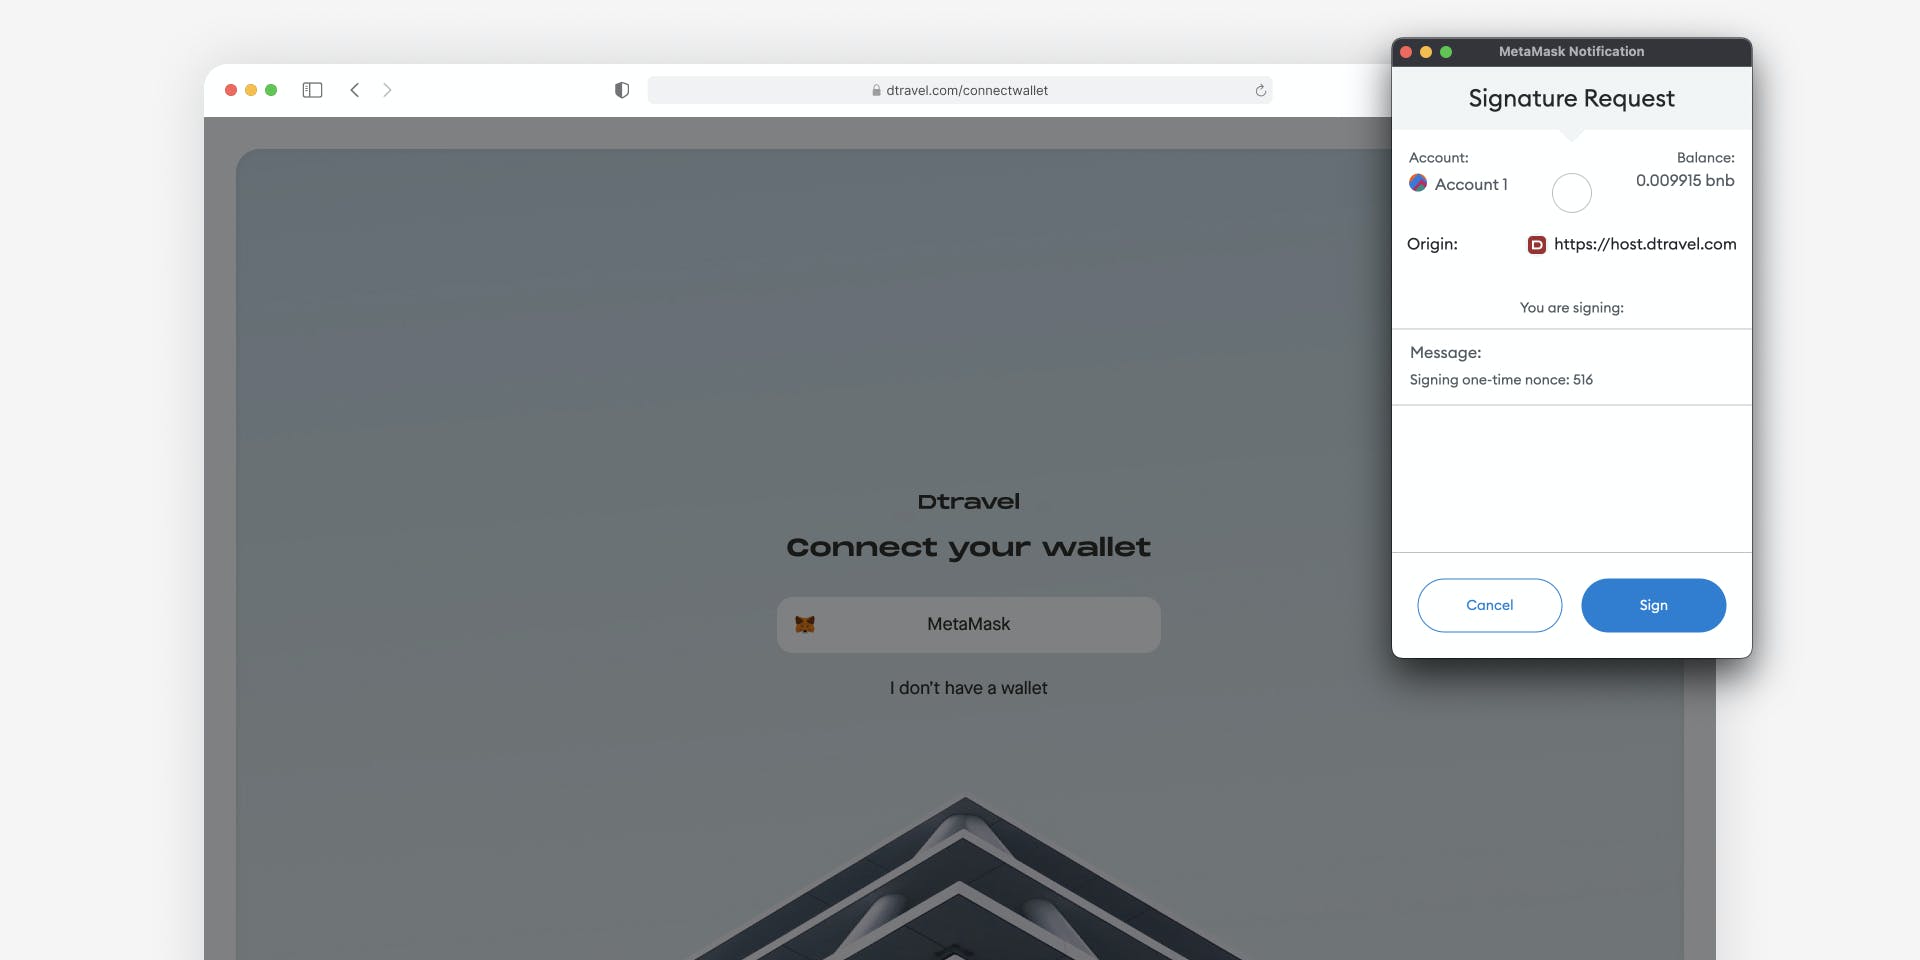
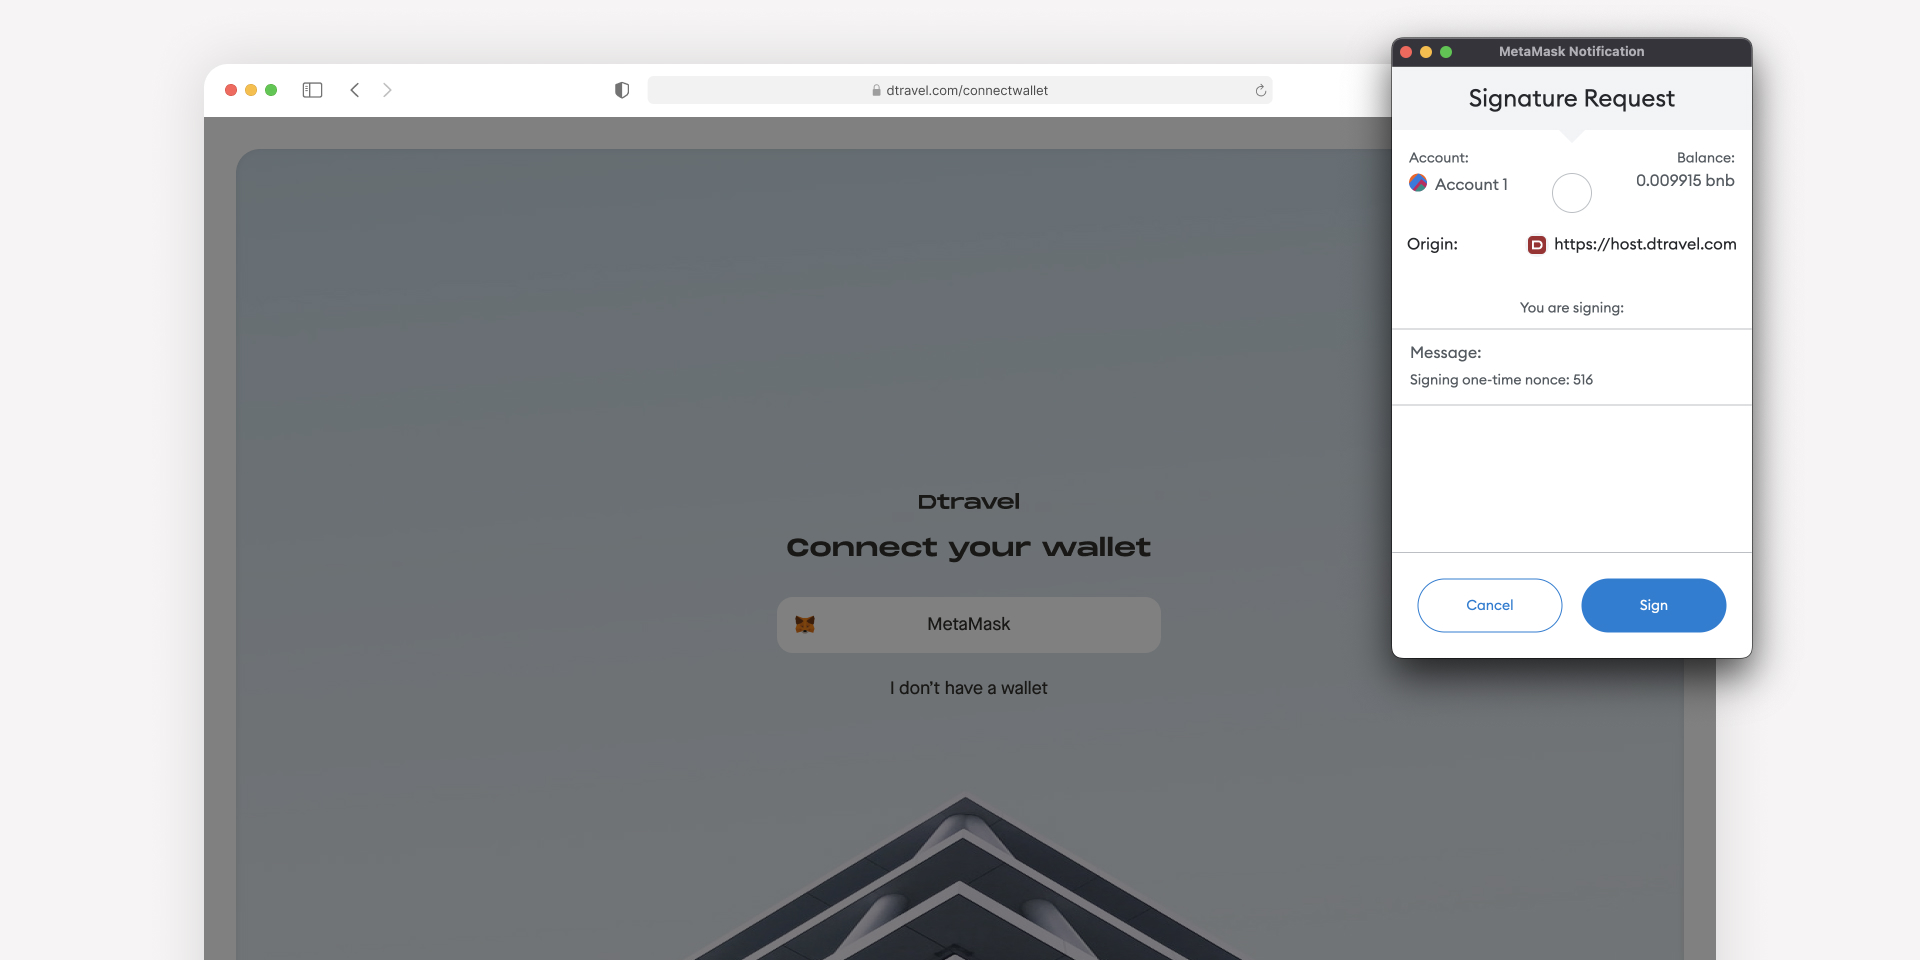
6. Connect your MetaMask wallet to access the Dtravel Dashboard. Don't have MetaMask wallet? Learn how to create one.
Note: Once you connect a wallet address, you won't be able to update the wallet address connected to your listing for payouts so make sure you are using the correct wallet address. Sign the transaction to connect your wallet.
7. In the Dtravel Direct dashboard, switch networks to the BNB Smart Chain.
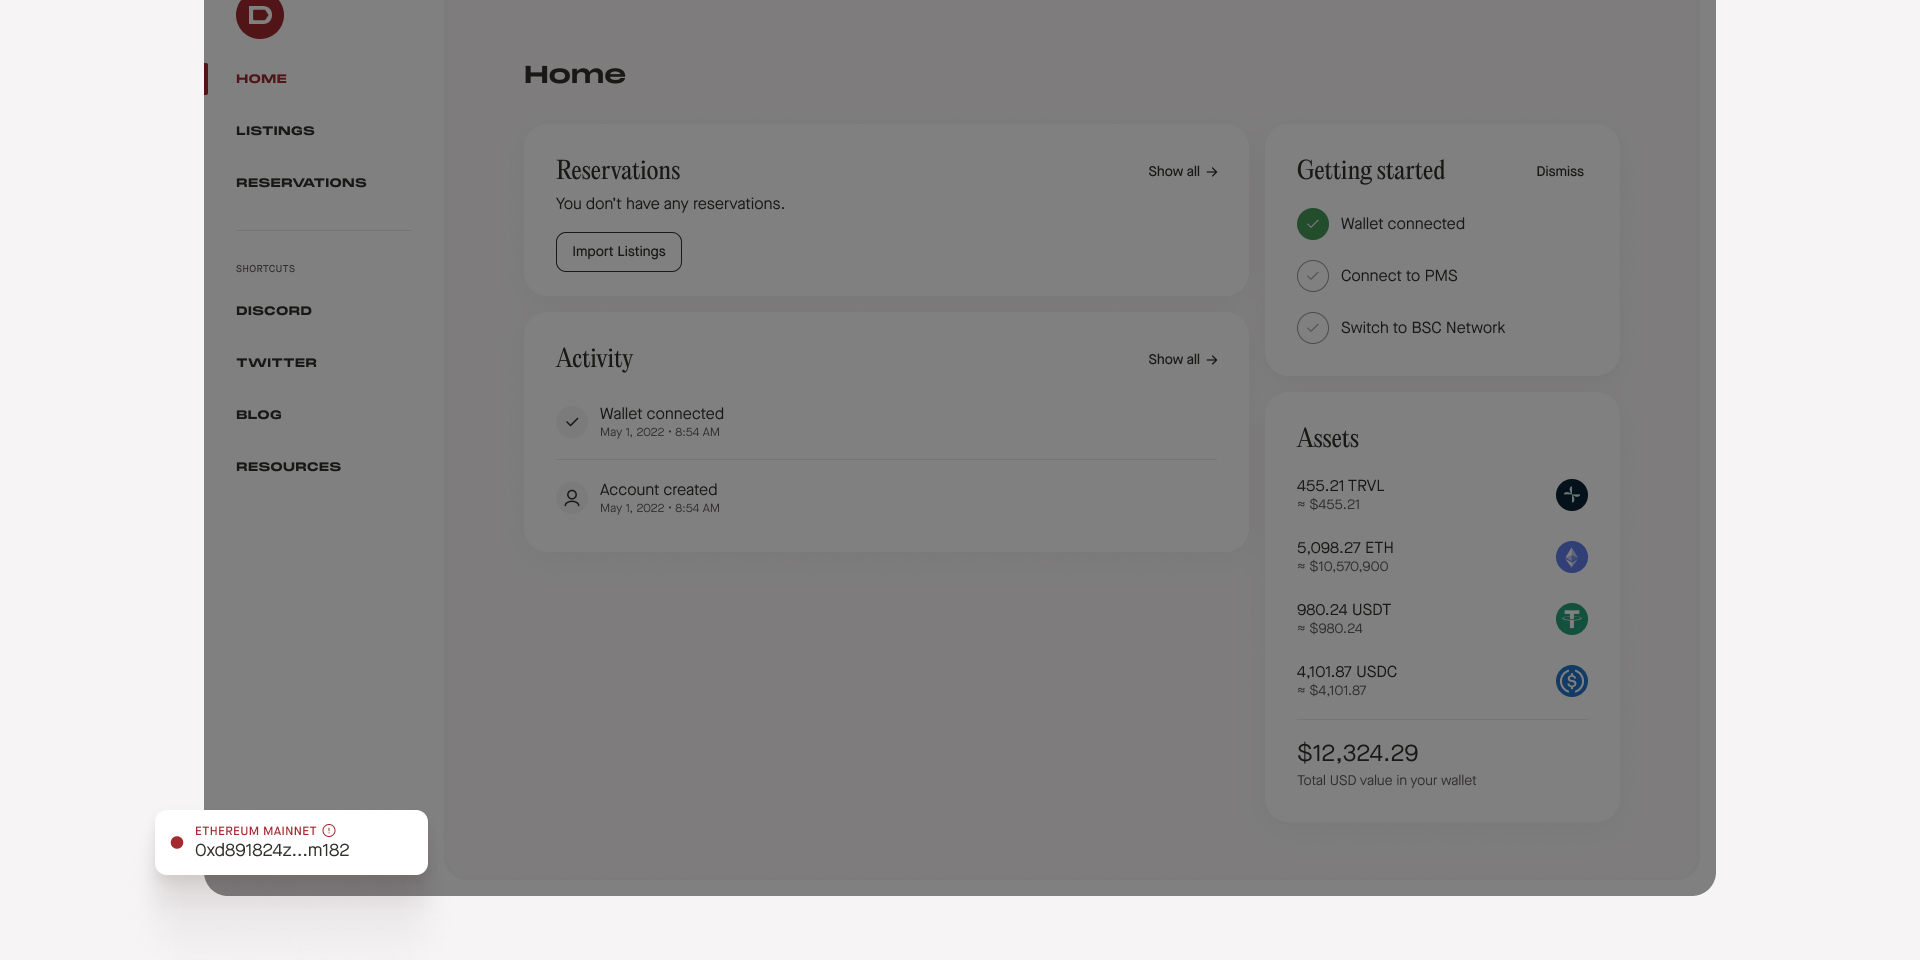
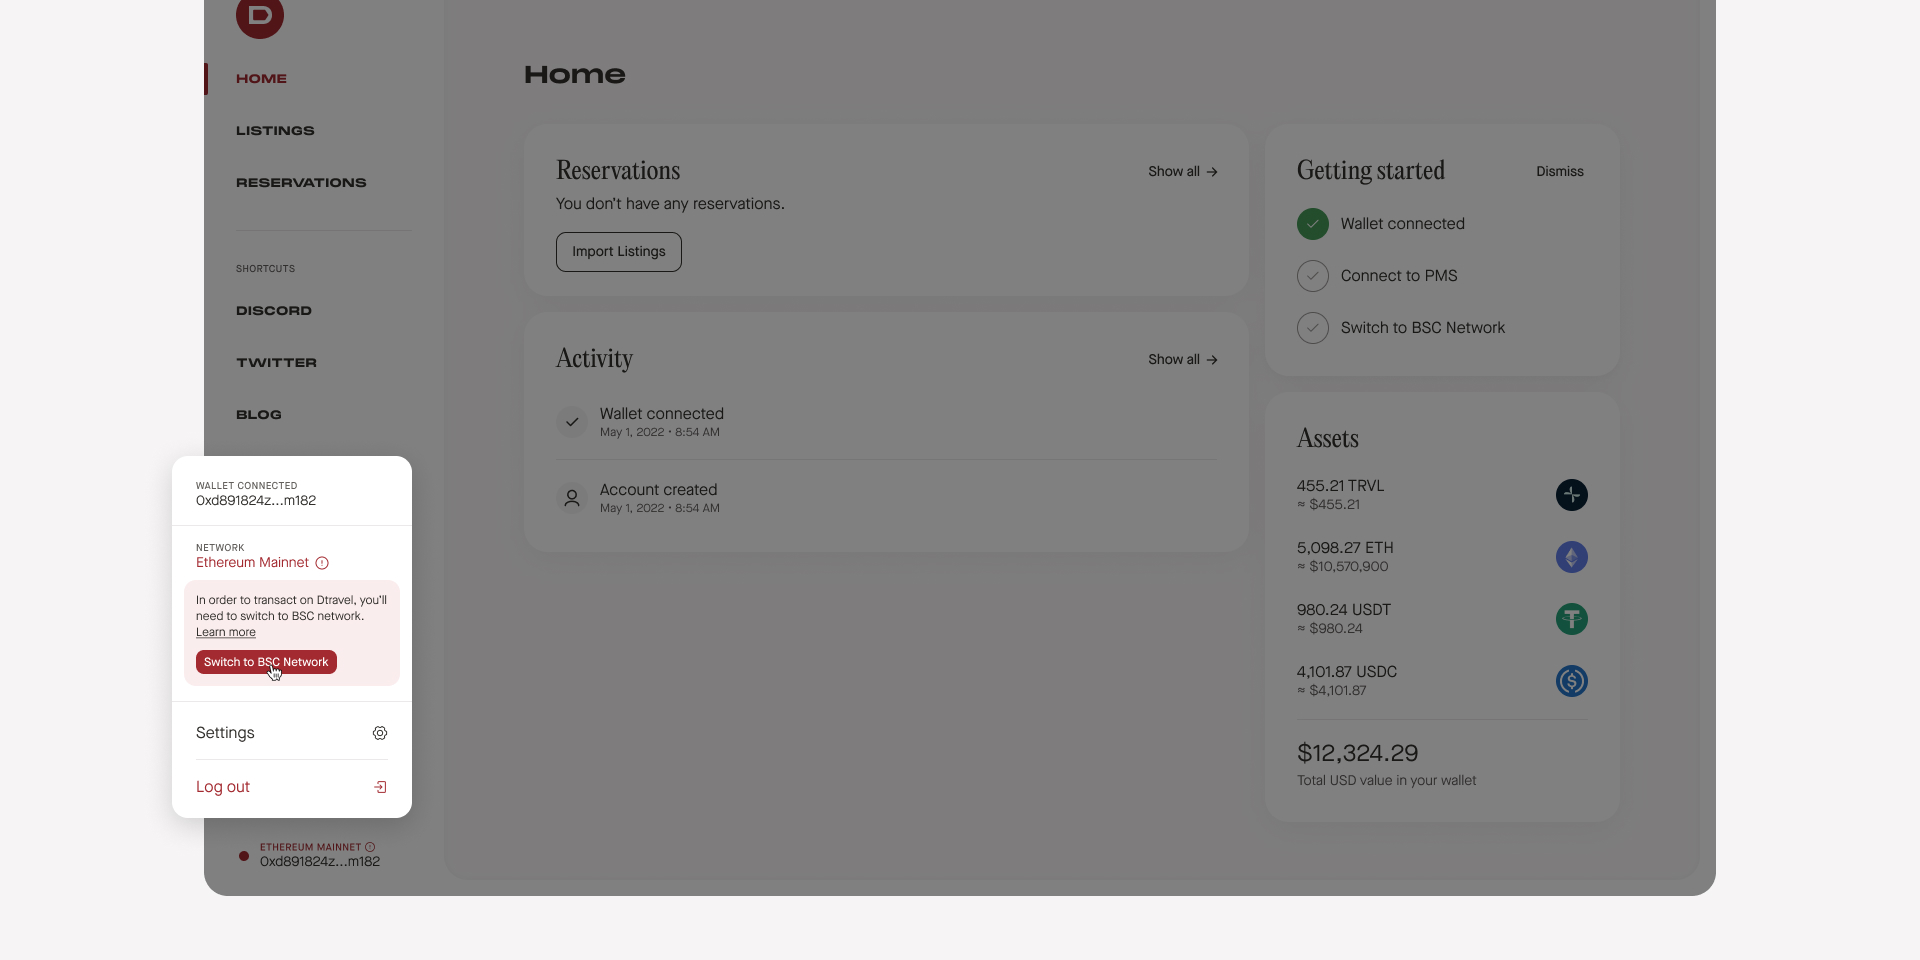
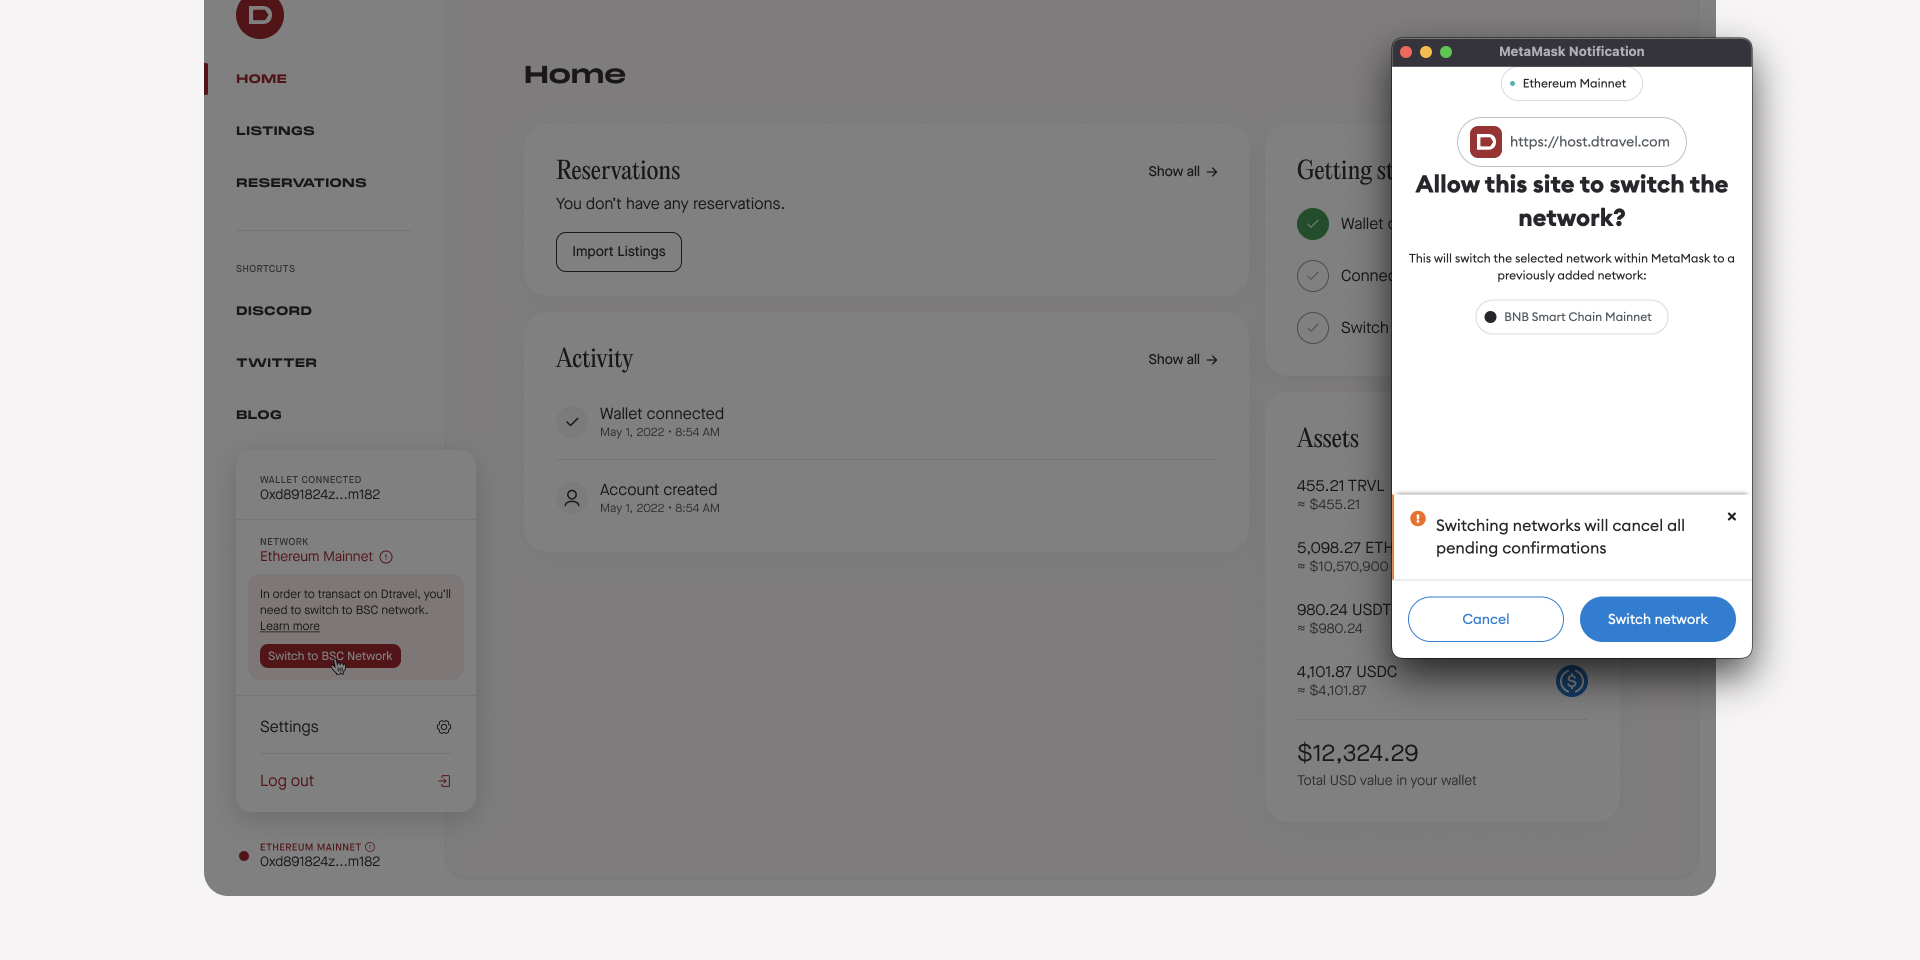
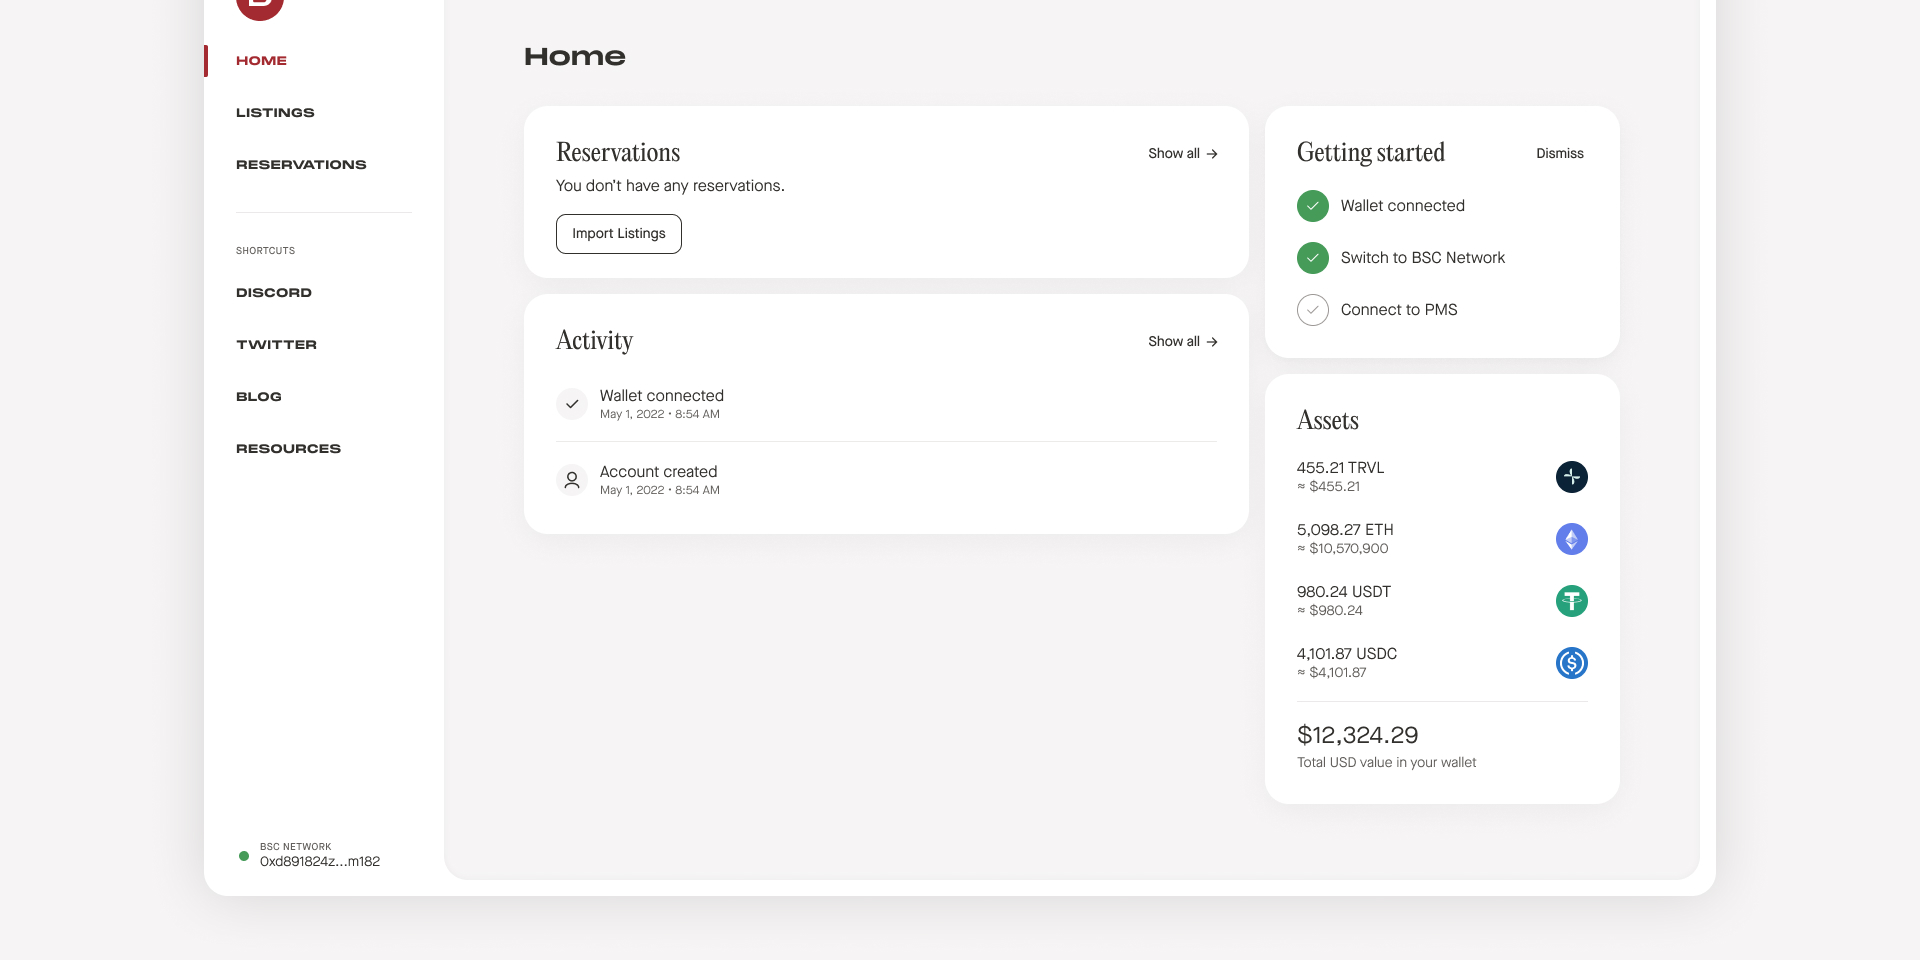
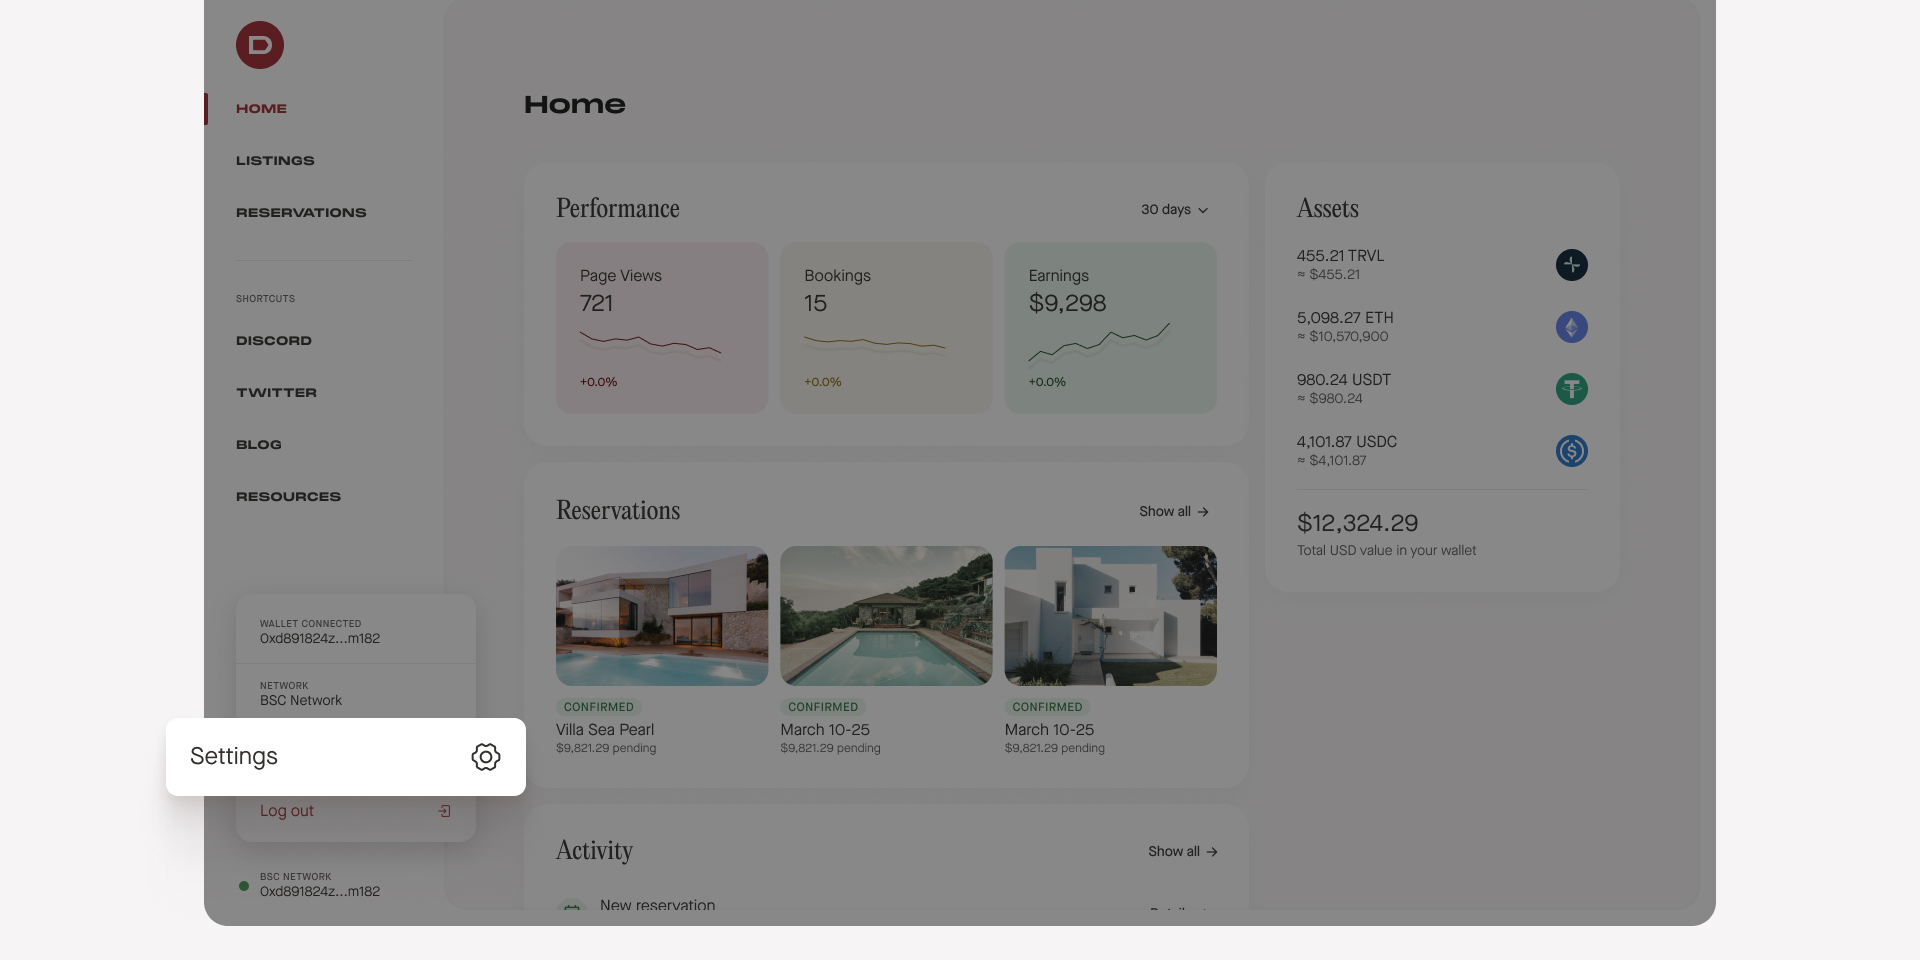
8. Once you're connected to BNB Smart Chain, navigate to the settings page.
9. Fill out your personal information then click the “Connect” button next to Uplisting in the integrations grid.
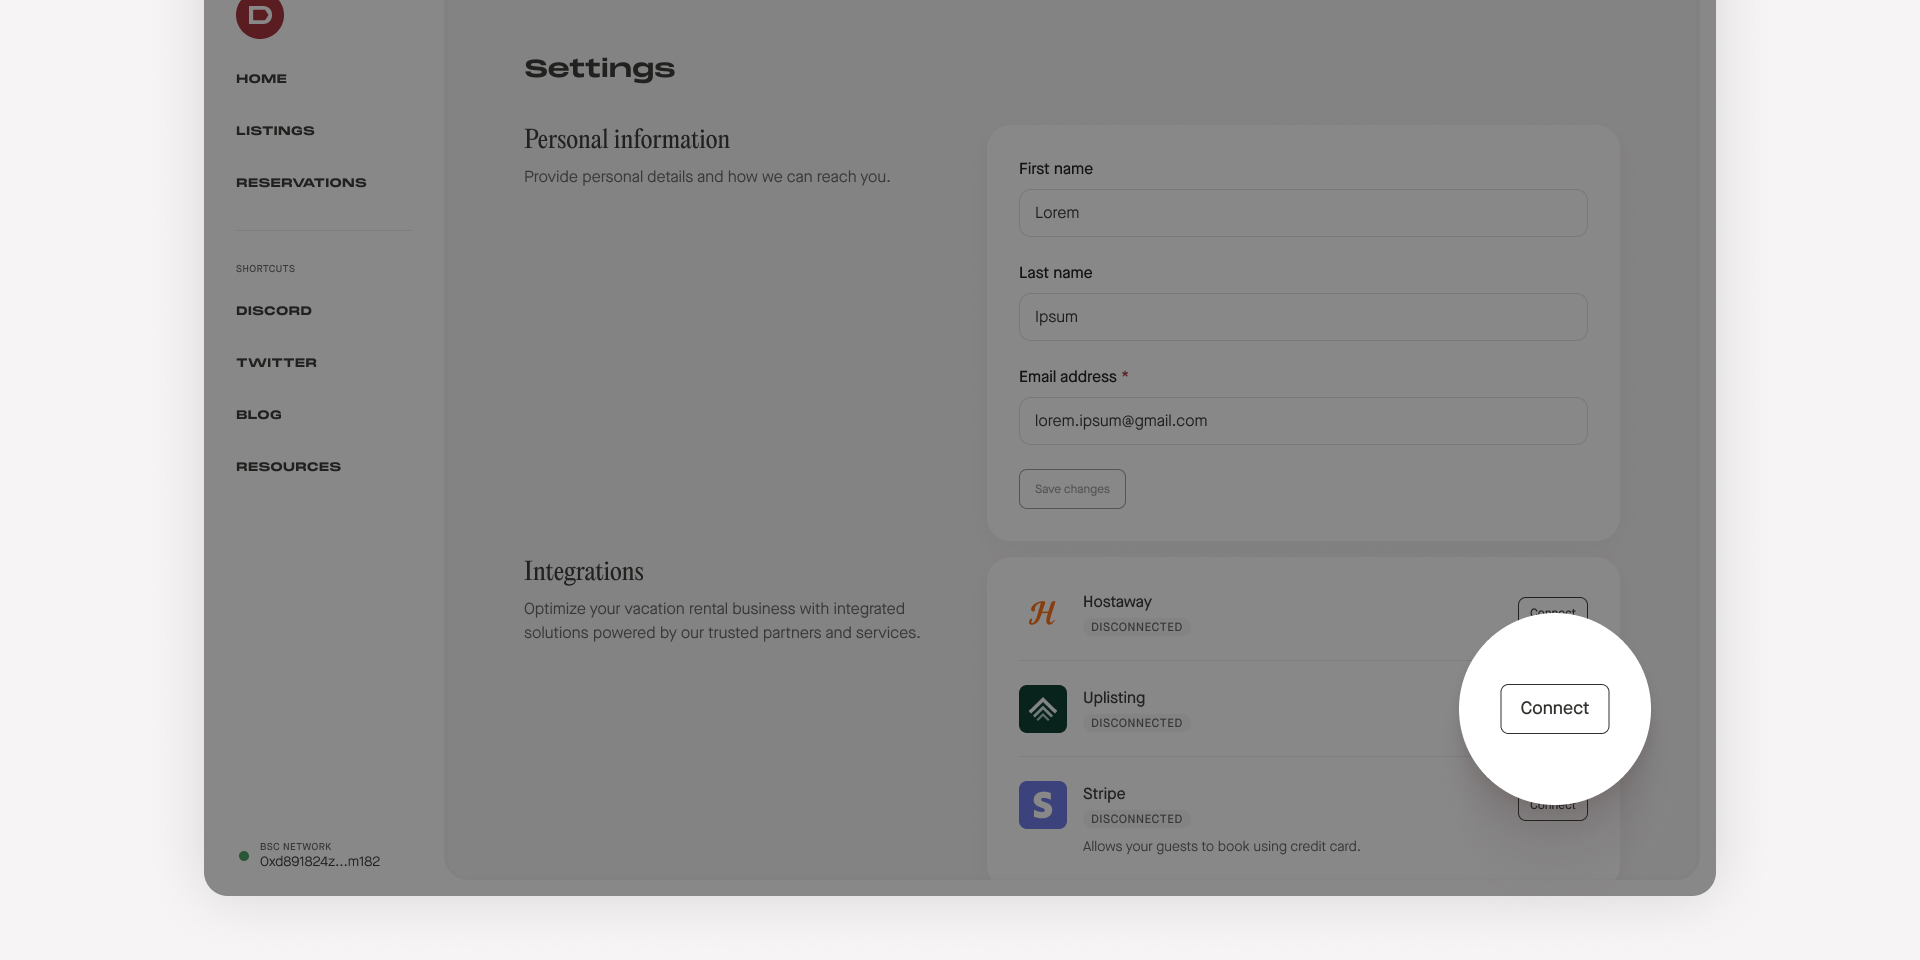
9. Paste your API Key from “Step 3” and click “Connect”.
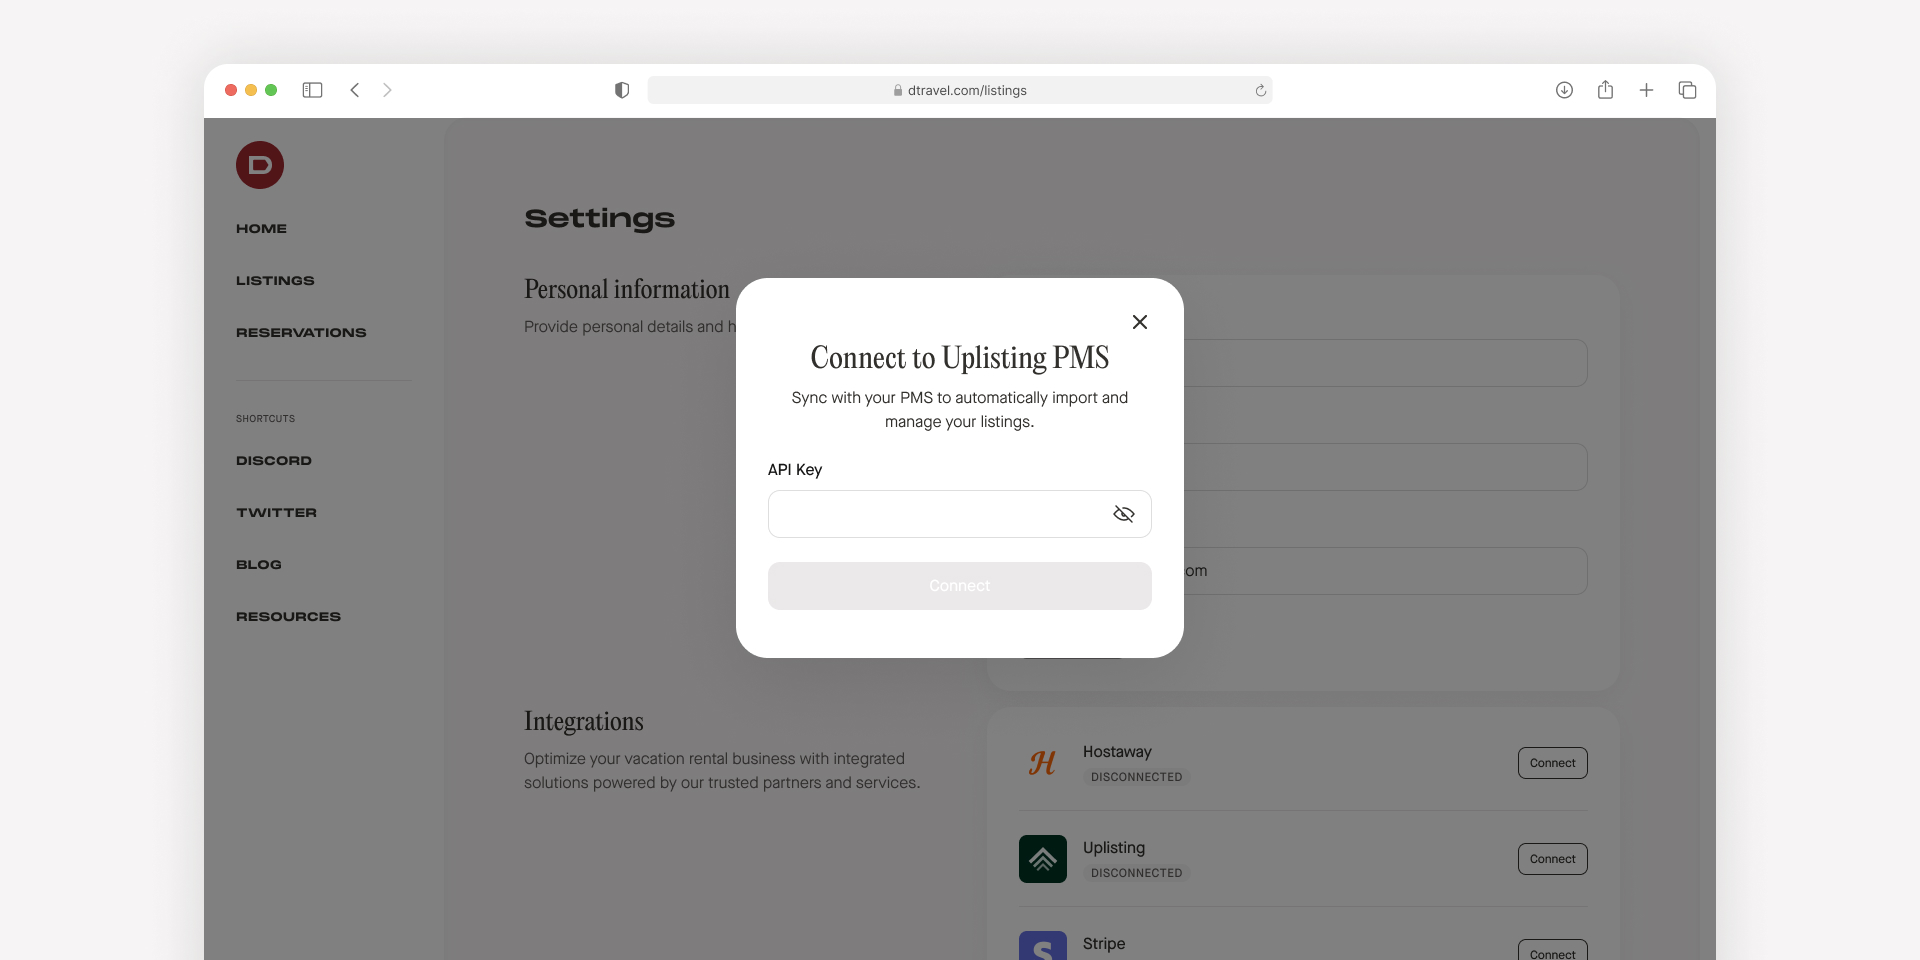
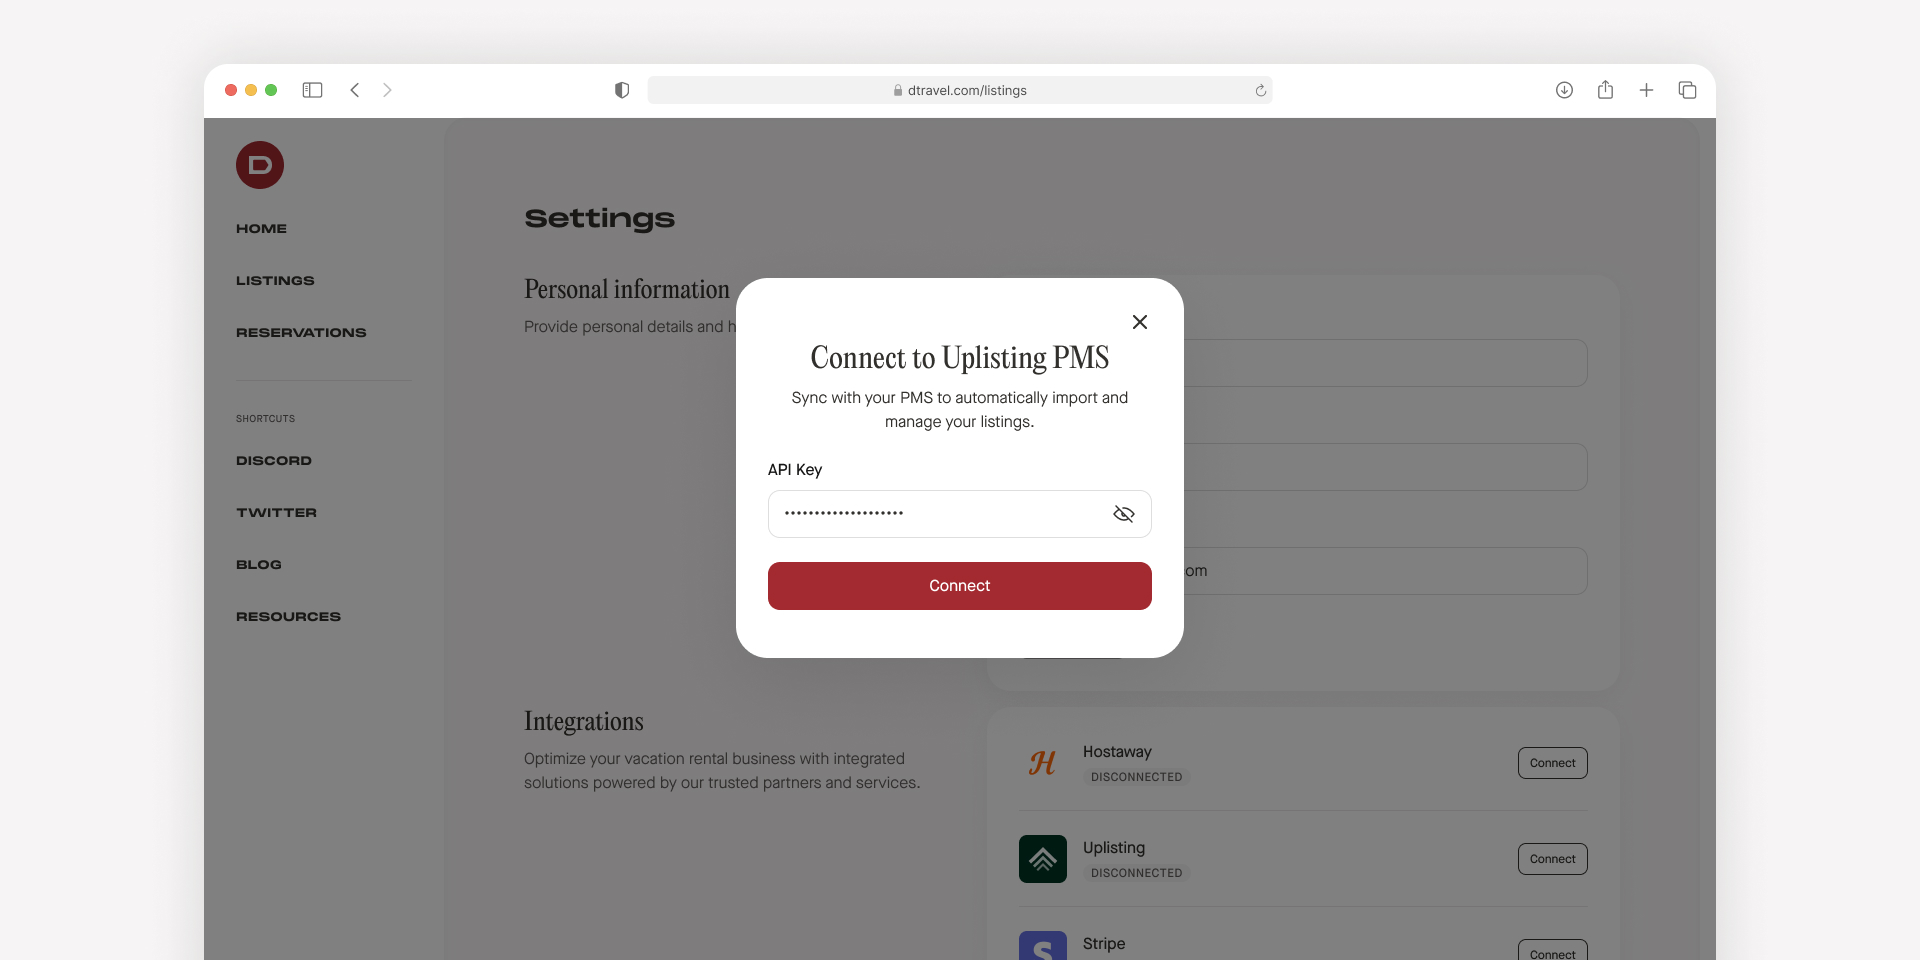
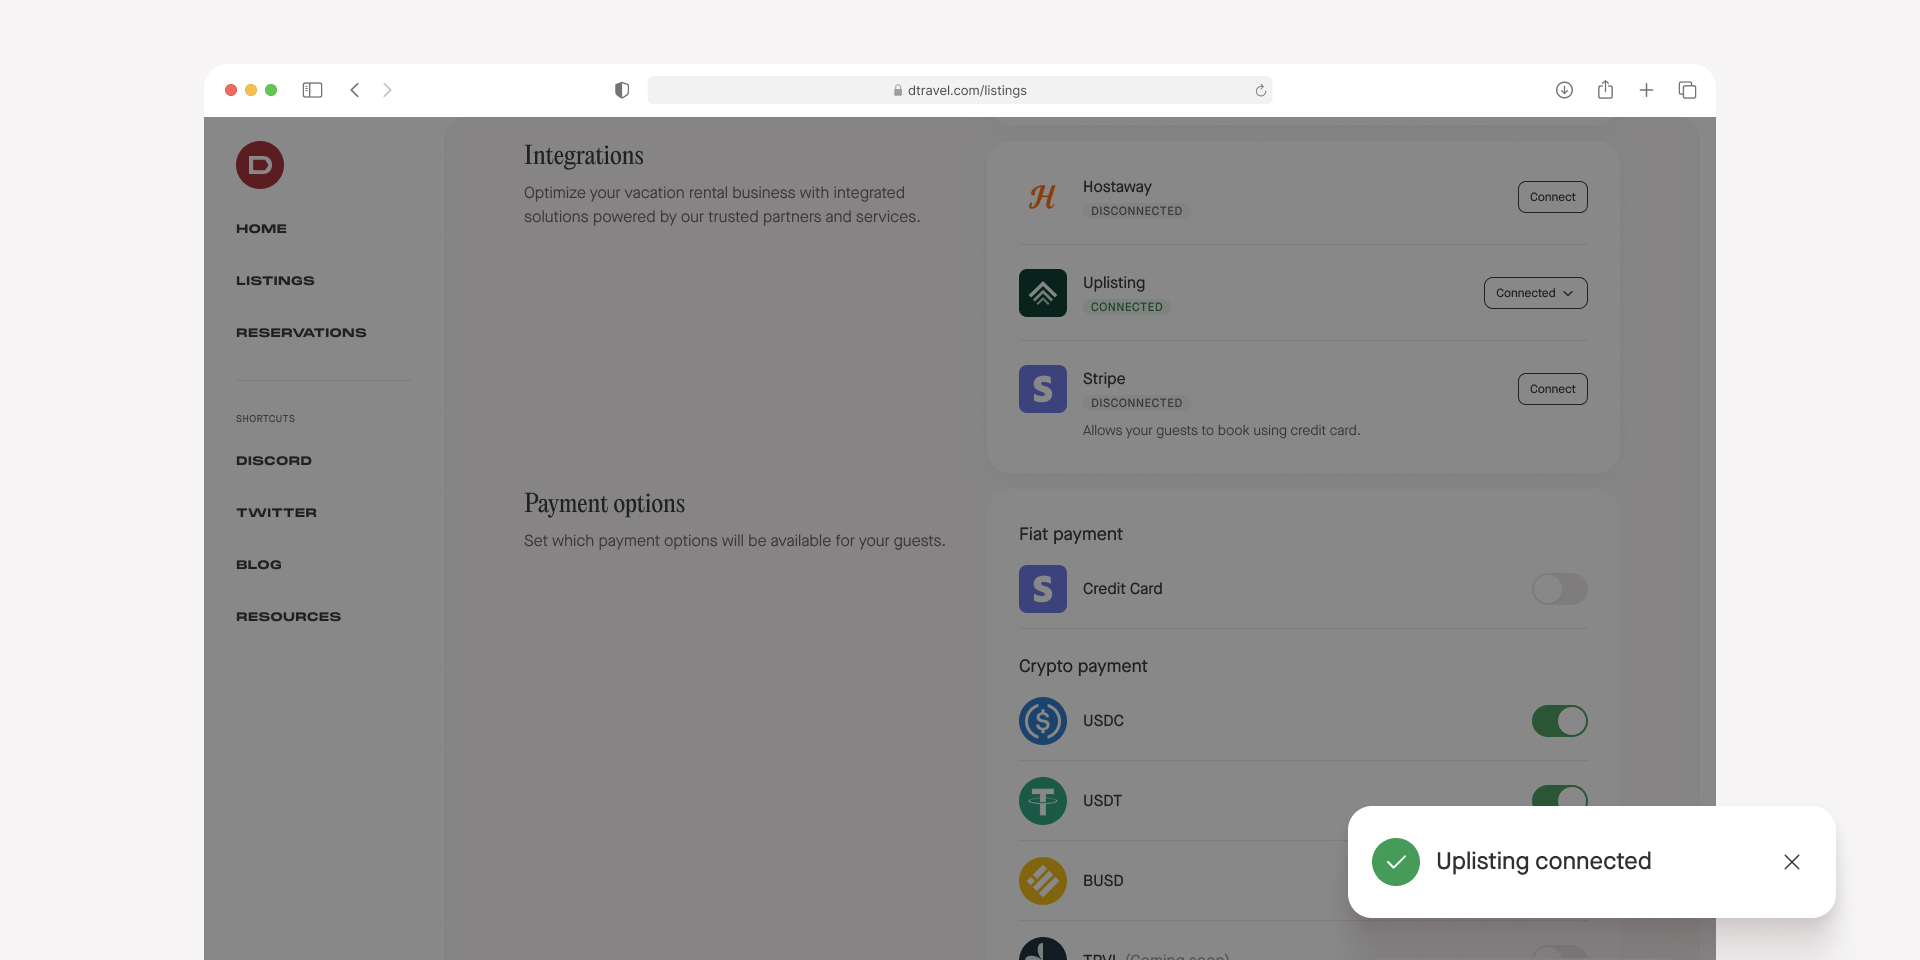
10. Once Uplisting is connected, navigate to the “Listings” tab.
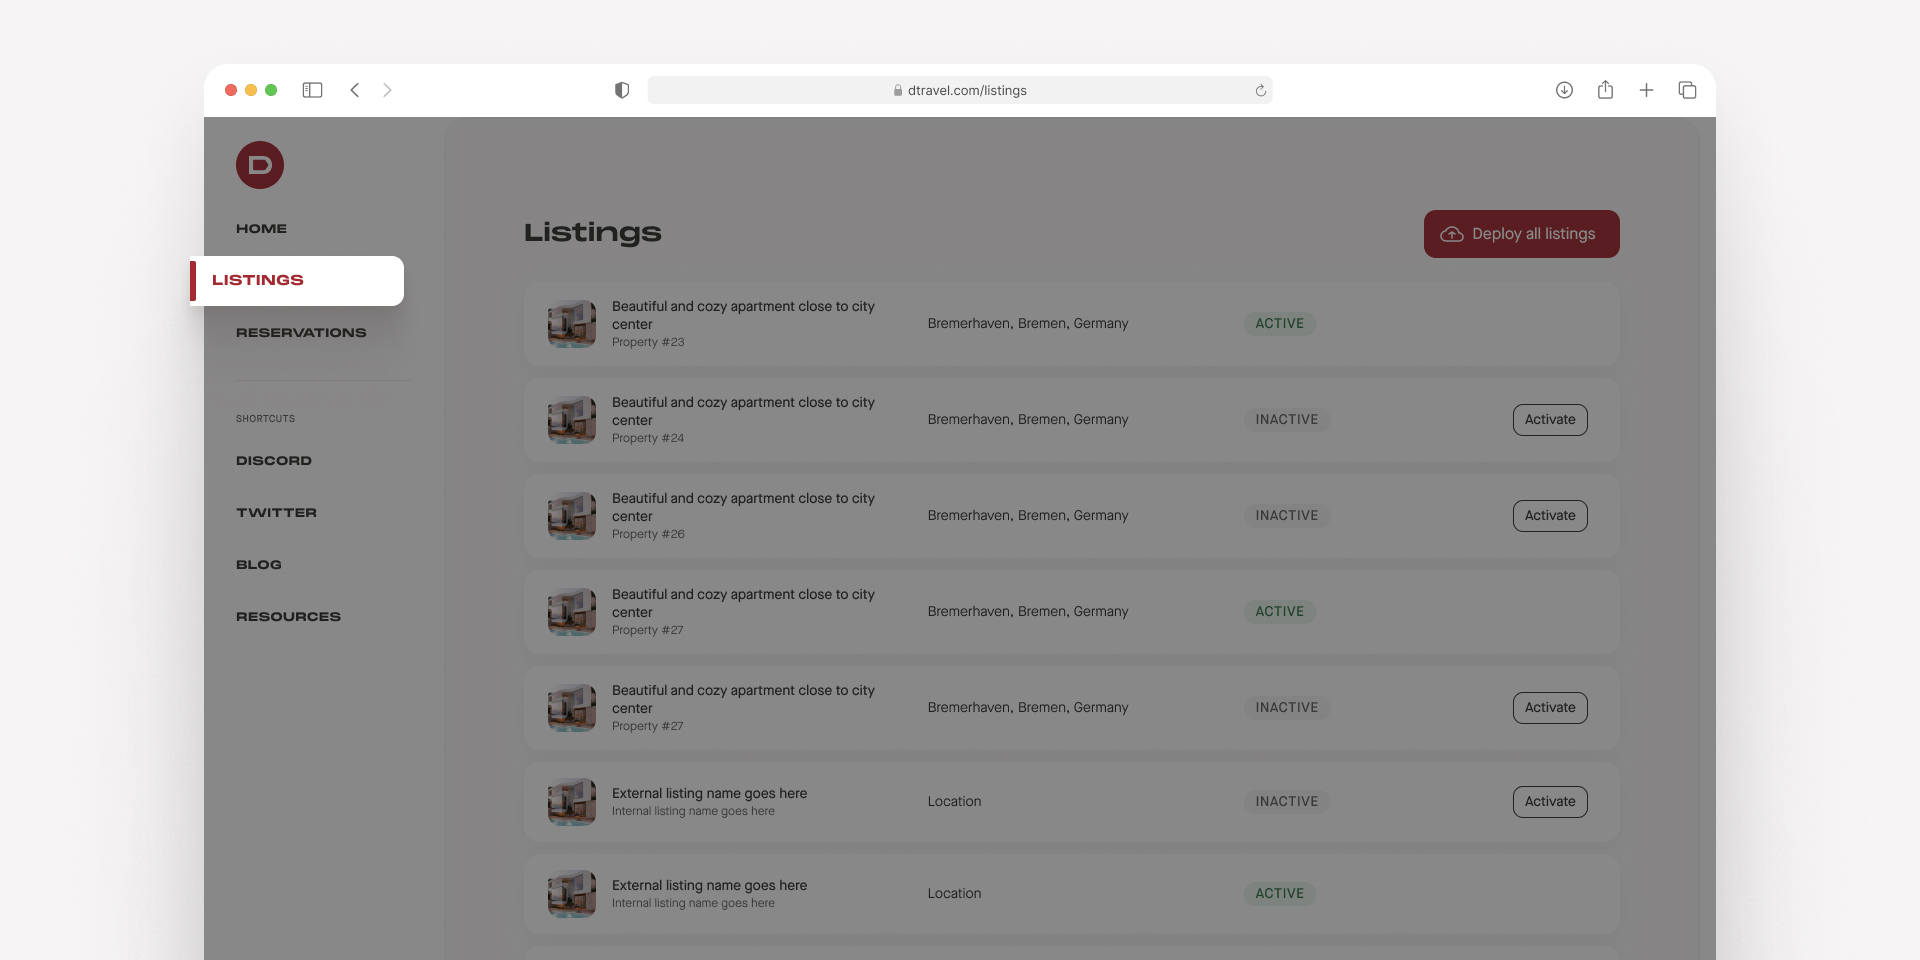
11. Here you'll see an option to activate your listings. Click the red button to activate all your listings at once or deploy each listing individually. Activating your listings will deploy a smart contract for each listing, enabling you to take payments on chain. After a few minutes, the listings will be live and the button should turn green.
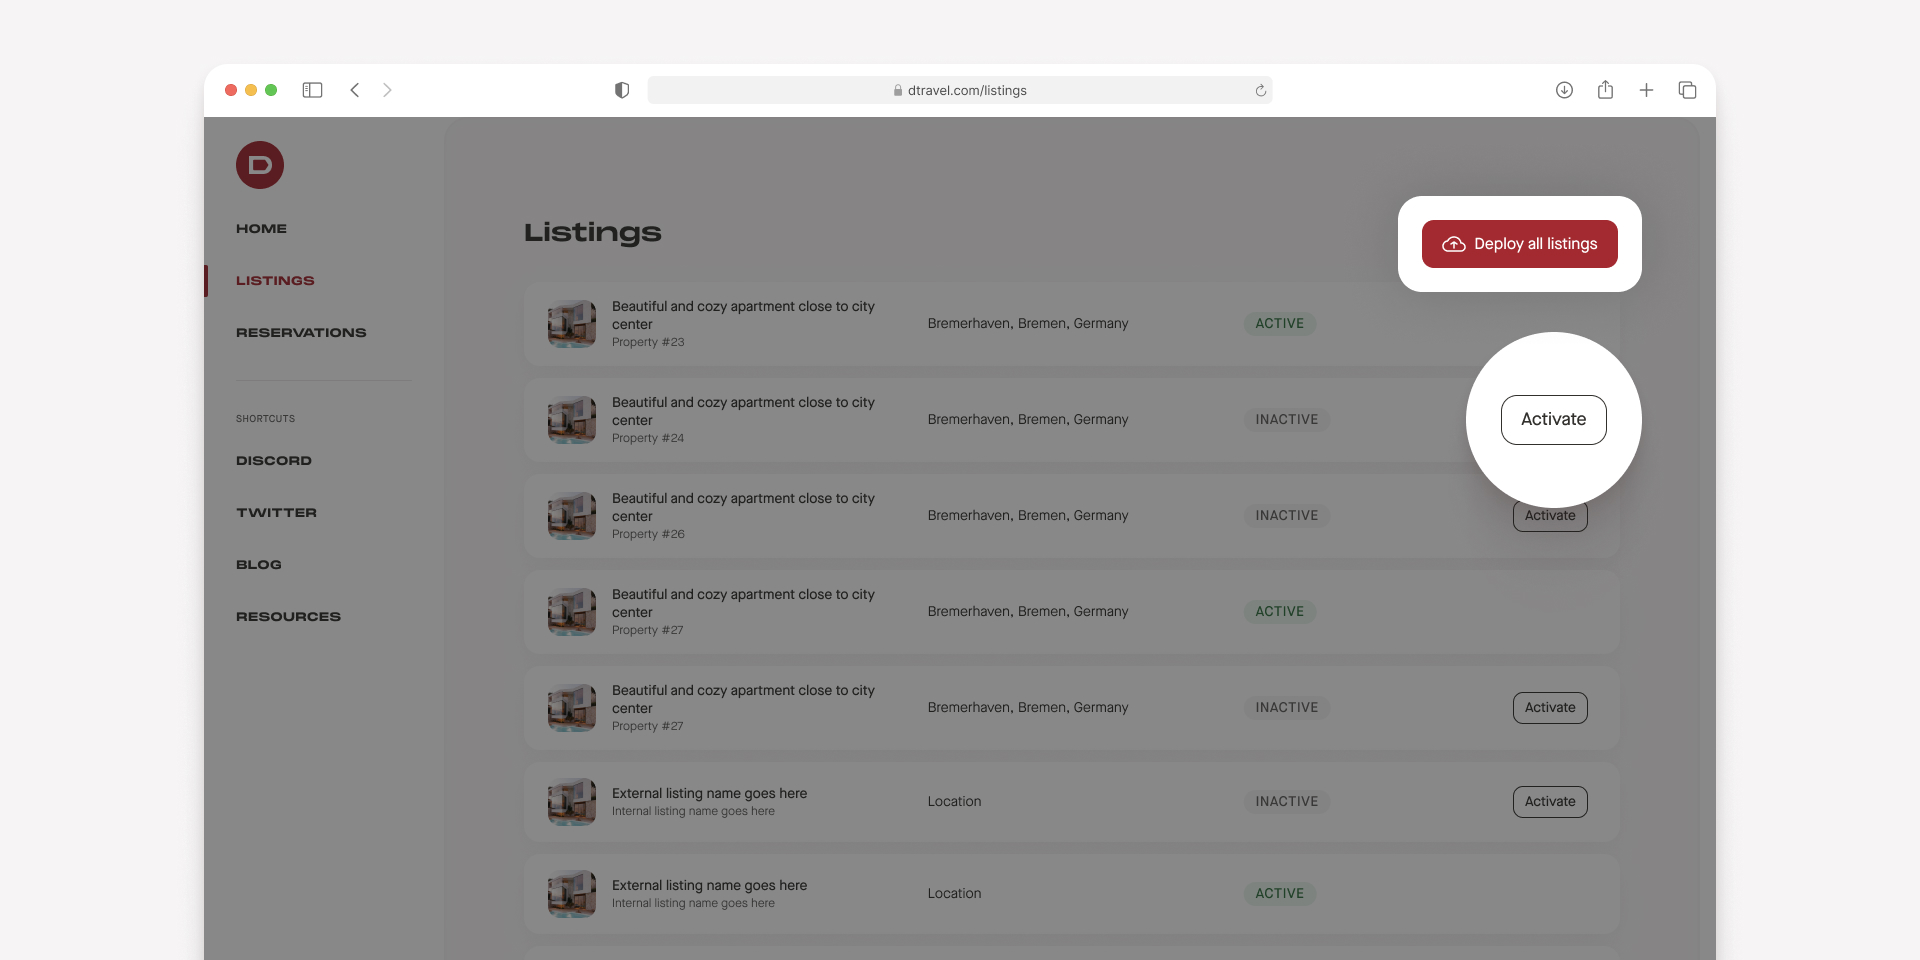
12. View a listing by clicking on the Preview listing page button. This is what guests will see when you send them your listing. To update your listing details, you'll need to do so in Uplisting.
You’re now ready to accept direct bookings! Simply share your listing(s) with guests to accept bookings in cryptocurrencies or fiat.
Note: If you would like to offer fiat payment options then you will need to connect your Stripe account in the Dtravel Dashboard Integrations panel.
For help with any of these steps, please reach out to us on Discord or our other community channels below.

